1. First of all go to your wifi settings and connect wifi which you wanna make multiple name.
2. Now, you have to enter the correct url in your browser. For this wifi, URL is 192.168.1.1
The main purpose of this url is to access the login page and setup the router.
There are different URL for different router.
For example:
192.169.0.1
192.169.100.1
192.169.2.1 ...etc
3. After that we have to enter login username and password which you can see in the back of your router or most of the default login user and password is
username: username
password: username
or
username: useradmin
passwod: useradmin
or
username: admin
password: root ...etc
4. For my router, it doesn't require any username and password. So its gets login directly. Note: My route is of netis router brand. You can see the landing page as shown in the screenshot below.
5. Now go to advanced in the top right as shown in the screenshot below to access more features and settings
6. As you can see in the left top, click in the wireless and you will see various options click Multiple SSID.
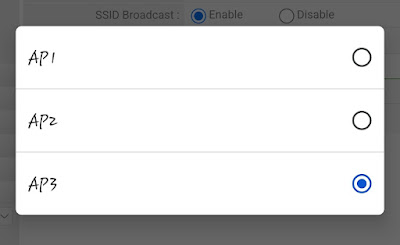
7. Now in the top you can see select AP:
choose any of them from three. In this router I can make up to three SSID. I will select AP3.
8. After that we can configured AP3. We can name it on our own by editing in the SSID as shown in the figure below. We nan activate password and hide the SSID as per our interest and use. After finishing all click save to initiate.
Now go to wifi and you can see multiple ssid from one router.


0 Comments